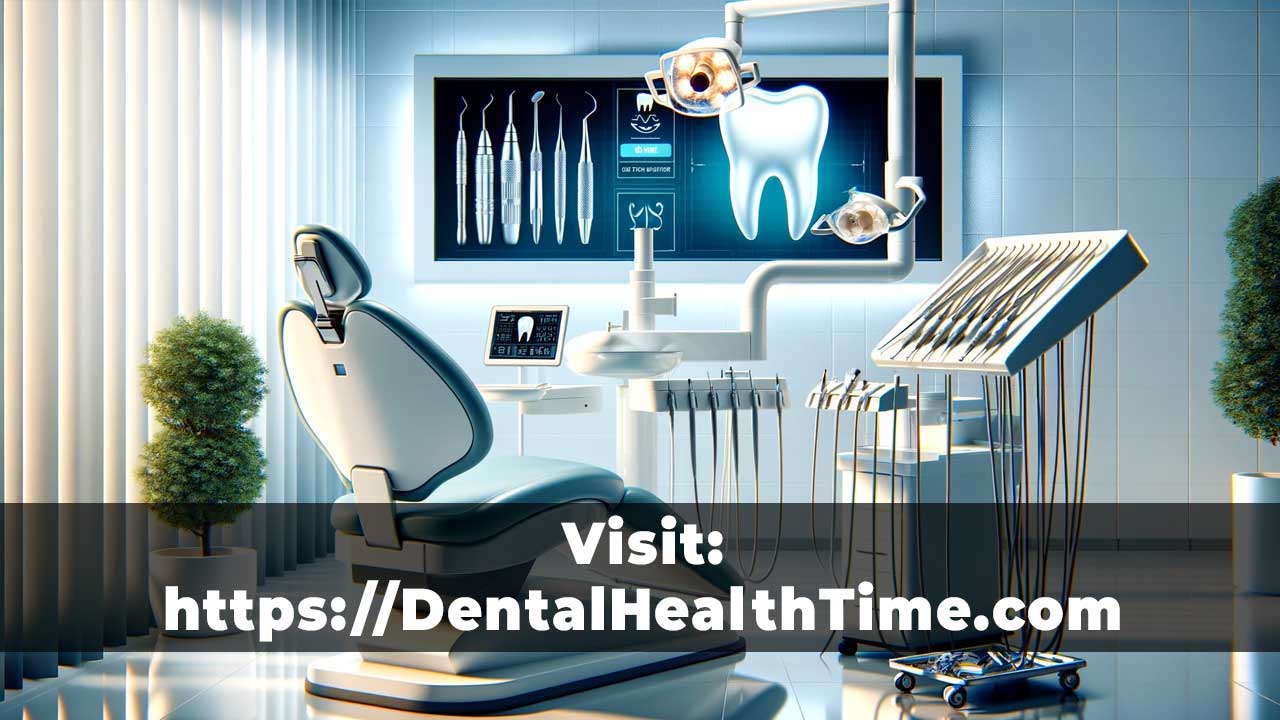

Taking care of your Dental tools is just as important as taking care of your teeth. Properly cleaning and disinfecting your Dental tools at home can help prevent the spread of harmful bacteria and ensure the longevity of your tools. In this guide, we will show you how to effectively clean your Dental tools using simple household items and techniques. Say goodbye to dirty instruments and hello to a sparkling clean smile!
[ad_1]
Properly cleaning Dental tools at home is crucial for maintaining optimal oral hygiene and preventing the spread of harmful bacteria and infections. Regular cleaning of your Dental tools can help prolong their lifespan and ensure they continue to effectively promote healthy teeth and gums. Here are some easy tips on how to clean your Dental tools at home:
1. Rinse with warm water: After each use, make sure to rinse your Dental tools thoroughly with warm water to remove any debris or particles. This simple step can help prevent the accumulation of bacteria and plaque on your tools.
2. Soak in a disinfectant solution: Prepare a disinfectant solution using hydrogen peroxide or alcohol and soak your Dental tools in it for at least 10-15 minutes. This will help eliminate any harmful bacteria or germs present on the tools.
3. Scrub with a toothbrush: Utilize a toothbrush to scrub your Dental tools, paying special attention to difficult-to-reach areas and crevices. This will aid in removing any remaining debris or buildup on the tools.
4. Rinse again: After scrubbing, rinse your Dental tools thoroughly with warm water to ensure all traces of disinfectant solution or debris are removed. It is essential to completely dry the tools before storing them.
5. Proper storage: Store your Dental tools in a clean, dry location to prevent the growth of bacteria or mold. Consider using a designated container or case to keep your tools organized and shielded from contaminants.
6. Regular replacement: Inspect your Dental tools regularly for signs of wear or damage. Replace any tools that are no longer effective to maintain optimal hygiene and oral health.
By following these straightforward steps, you can effectively clean your Dental tools at home and promote good oral hygiene. Remember to clean your tools regularly and replace them when necessary to ensure they continue to support healthy teeth and gums. If you have any questions or concerns about cleaning your Dental tools, don’t hesitate to seek guidance from your dentist. Prioritizing the cleanliness of your Dental tools is essential for a healthy smile and overall well-being.
[ad_2]
1. How do I clean Dental tools at home?
– To clean Dental tools at home, start by soaking them in warm soapy water for at least 15 minutes. Then, scrub the tools with a toothbrush or small brush to remove any debris. Rinse the tools thoroughly with water and allow them to air dry before using them again.
2. Can I use bleach to clean Dental tools at home?
– It is not recommended to use bleach to clean Dental tools at home as it can be corrosive and damage the tools. Stick to using warm soapy water and a brush to clean your Dental tools effectively.
3. How often should I clean my Dental tools at home?
– It is recommended to clean your Dental tools at home after each use to prevent the spread of bacteria and germs. Regular cleaning will also help to maintain the effectiveness of the tools.
4. Can I sterilize my Dental tools at home?
– It is best to leave sterilization of Dental tools to professionals, as they have the proper equipment and knowledge to ensure that the tools are properly sterilized. However, you can clean your tools effectively at home using the steps mentioned above.
5. What should I do if my Dental tools are rusty?
– If your Dental tools are rusty, it is best to replace them with new tools to prevent any risk of infection or damage to your teeth. Rusty tools can harbor bacteria and may not be safe to use on your teeth.
[ad_1]